
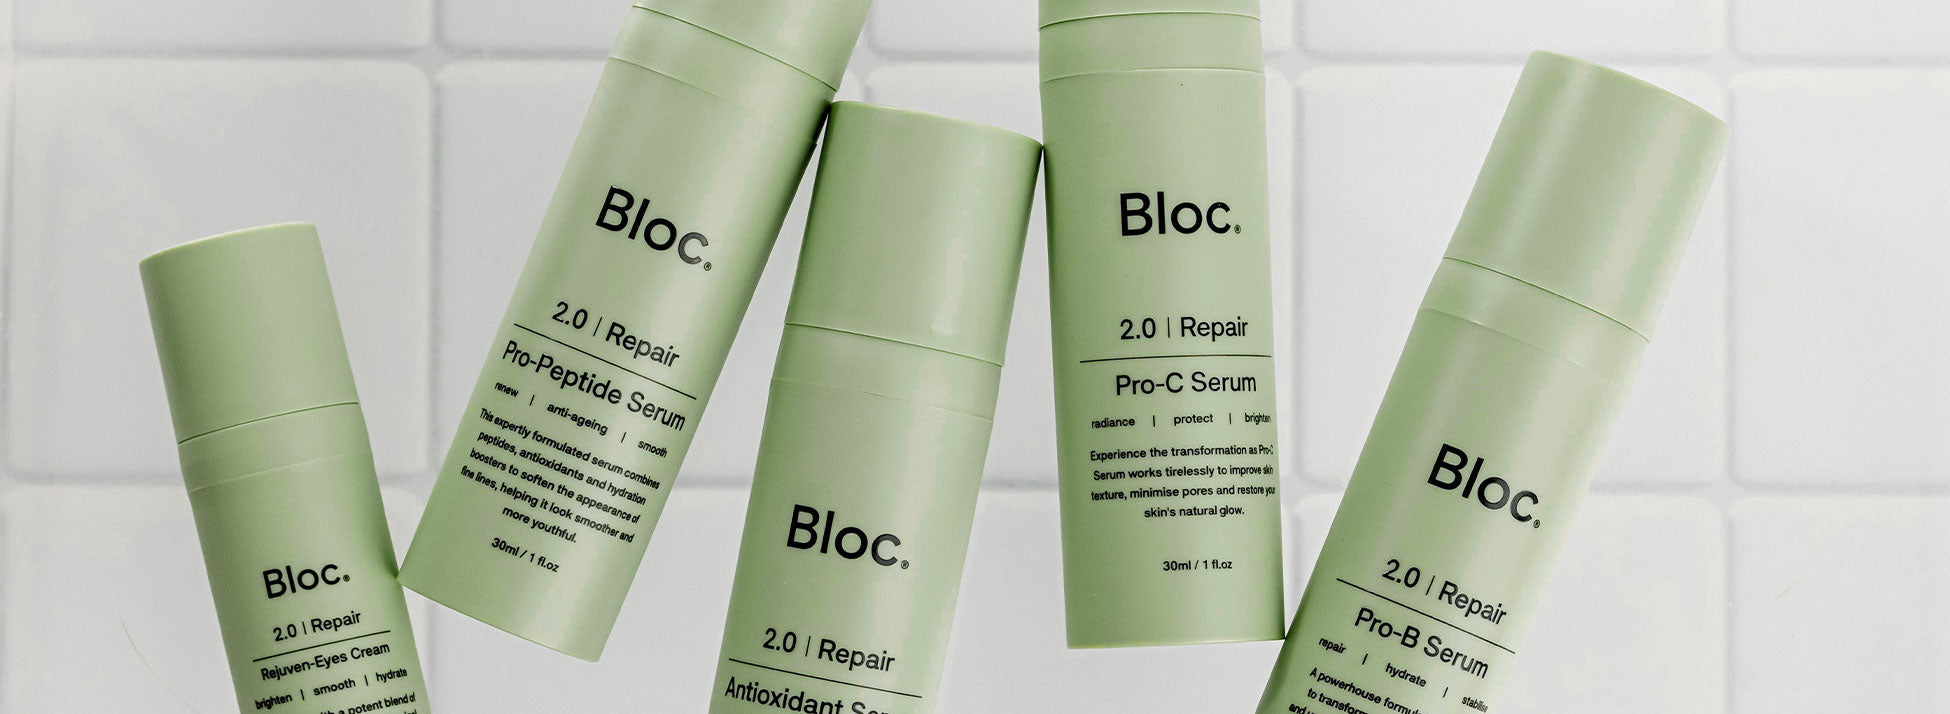


Why Should You Use a Contour Stick in 2025?
A contour stick gives you effortless, on-the-go sculpting—just draw, blend, and go. It’s creamy yet precise, perfect for defining cheekbones, jawline, and nose without the mess of powders. In 2025, contour sticks are favored for their convenience, blendability, and natural-looking finish that complements modern, minimal makeup routines.
If you’re new to makeup or want to elevate your contouring game, mastering the contour stick is a fantastic place to start. This versatile tool can help sculpt your face, enhance your natural features, and give you a radiant, polished look with minimal effort. Unlike powders or creams, contour sticks offer precision, ease of use, and blend seamlessly for a natural finish.
In this beginner-friendly guide, you’ll learn everything about how to use a contour stick like a pro. From selecting the right shade to blending techniques, plus tips to avoid common mistakes.
What Is a Contour Stick?
A contour stick is a cream-based makeup product designed to create shadows on your face. Its stick form allows for easy application directly on the skin, making it a popular choice among both makeup novices and professionals.
Unlike contour powders, contour sticks provide a creamier texture that blends effortlessly into the skin, giving a soft, natural shadow effect. This helps in defining your cheekbones, jawline, nose, and forehead.
Why Choose a Contour Stick?
-
Precision: The stick format allows you to apply product exactly where you want it.
-
Blendability: Cream formula blends smoothly with fingers, brushes, or sponges.
-
Buildable Coverage: You can layer it for subtle or dramatic contouring.
-
Portable: Easy to carry for quick touch-ups.
Step 1: Choose the Right Contour Stick Shade
Choosing the right shade is the foundation for natural-looking contouring. Here’s how to pick the perfect contour stick:
-
Pick a shade that is 1-2 shades darker than your natural skin tone.
-
Avoid contour sticks that are too warm or orange; aim for cooler or neutral undertones to mimic natural shadows.
-
For fair skin, opt for light taupe or soft brown shades.
-
Medium to deep skin tones can experiment with deeper browns, but avoid very dark colors that can look harsh.
Pro Tip: Test the shade on your jawline or wrist before purchasing to see how it blends with your skin.
Step 2: Prep Your Skin
Before contouring, prepping your skin is essential for a flawless finish:
-
Cleanse and moisturise your face to create a smooth base.
-
Apply your foundation or BB cream as usual to even out skin tone.
-
Use a primer if you want your makeup to last longer and prevent creasing.
Step 3: Map Your Face
Knowing where to apply the contour stick is key. These are the most common areas to contour:
-
Under the cheekbones: To create depth and highlight cheekbones.
-
Sides of the nose: To slim and define.
-
Jawline: To sharpen and sculpt.
-
Forehead near the hairline: To reduce the appearance of a large forehead.
Use your fingers or a small mirror to locate the hollow areas of your face - these are where shadows naturally fall.
Step 4: Apply the Contour Stick
Now that your face is prepped and you know where to apply, it’s time to start using your contour stick.
-
Cheeks: Swipe the contour stick in a diagonal line starting from your ear towards the corner of your mouth but stop midway. Avoid drawing it too close to your mouth.
-
Nose: Draw two thin lines on either side of your nose bridge.
-
Jawline: Swipe along the jawbone from the ears to the chin.
-
Forehead: Apply the contour stick along the temples and near the hairline.
Apply with light pressure; it’s easier to build up than tone down.
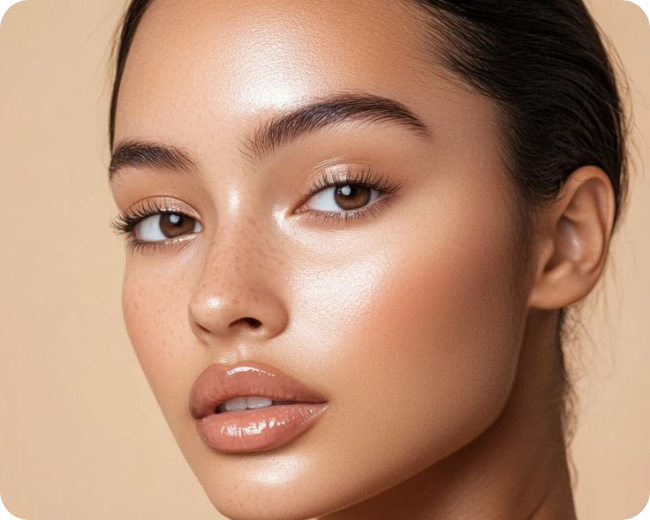
Step 5: Blend, Blend, Blend!
Blending is the most crucial step to avoid harsh lines and achieve a natural look.
-
Use a makeup sponge dampened slightly with water for smooth blending.
-
Alternatively, use your clean fingertips - the warmth helps melt the product into the skin.
-
You can also use a dense brush designed for cream products.
Start blending in gentle, upward and outward motions. Blend edges carefully until there are no visible lines, and the contour looks like a shadow rather than a stripe.
Step 6: Highlight to Enhance
Contour creates shadows; highlighting adds brightness to the high points of your face, enhancing the sculpted look.
Apply your highlighter or a lighter concealer on the:
-
Tops of cheekbones
-
Bridge of the nose
-
Center of the forehead
-
Brow bone
-
Cupid’s bow
-
Chin
Blend the highlight seamlessly with your contour and foundation for a balanced finish.
Step 7: Set Your Makeup
Since the contour stick is a cream product, setting it with powder will increase longevity and reduce shine.
-
Use a translucent setting powder and apply lightly with a fluffy brush.
-
Focus on areas you contoured to keep it in place.
-
Finish with a setting spray for all-day wear.
Bonus Tips for Contouring Like a Pro
-
Less is more: Start with a small amount of product and build up gradually.
-
Match your undertones: If you have cool undertones, choose contour sticks with greyish or taupe shades. Warm undertones can go for bronze or warm brown.
-
Avoid harsh lines: Always blend well; harsh contour lines look unnatural.
-
Use cream and powder combo: Use the contour stick first, then enhance with powder contour for extra definition.
-
Practice: Contouring can be tricky initially but practicing helps you learn your face shape and how to enhance it.
Common Mistakes to Avoid
-
Using a contour stick that’s too dark or too warm for your skin.
-
Applying contour on the wrong areas or too close to the centre of your face.
-
Skipping blending - harsh lines are the biggest giveaway of contouring.
-
Overdoing the contour, making it look unnatural or muddy.
-
Ignoring your face shape; contour placement should complement your natural features.
Contour Stick Recommendations for Beginners
Here are some popular contour sticks that are beginner-friendly and highly rated:
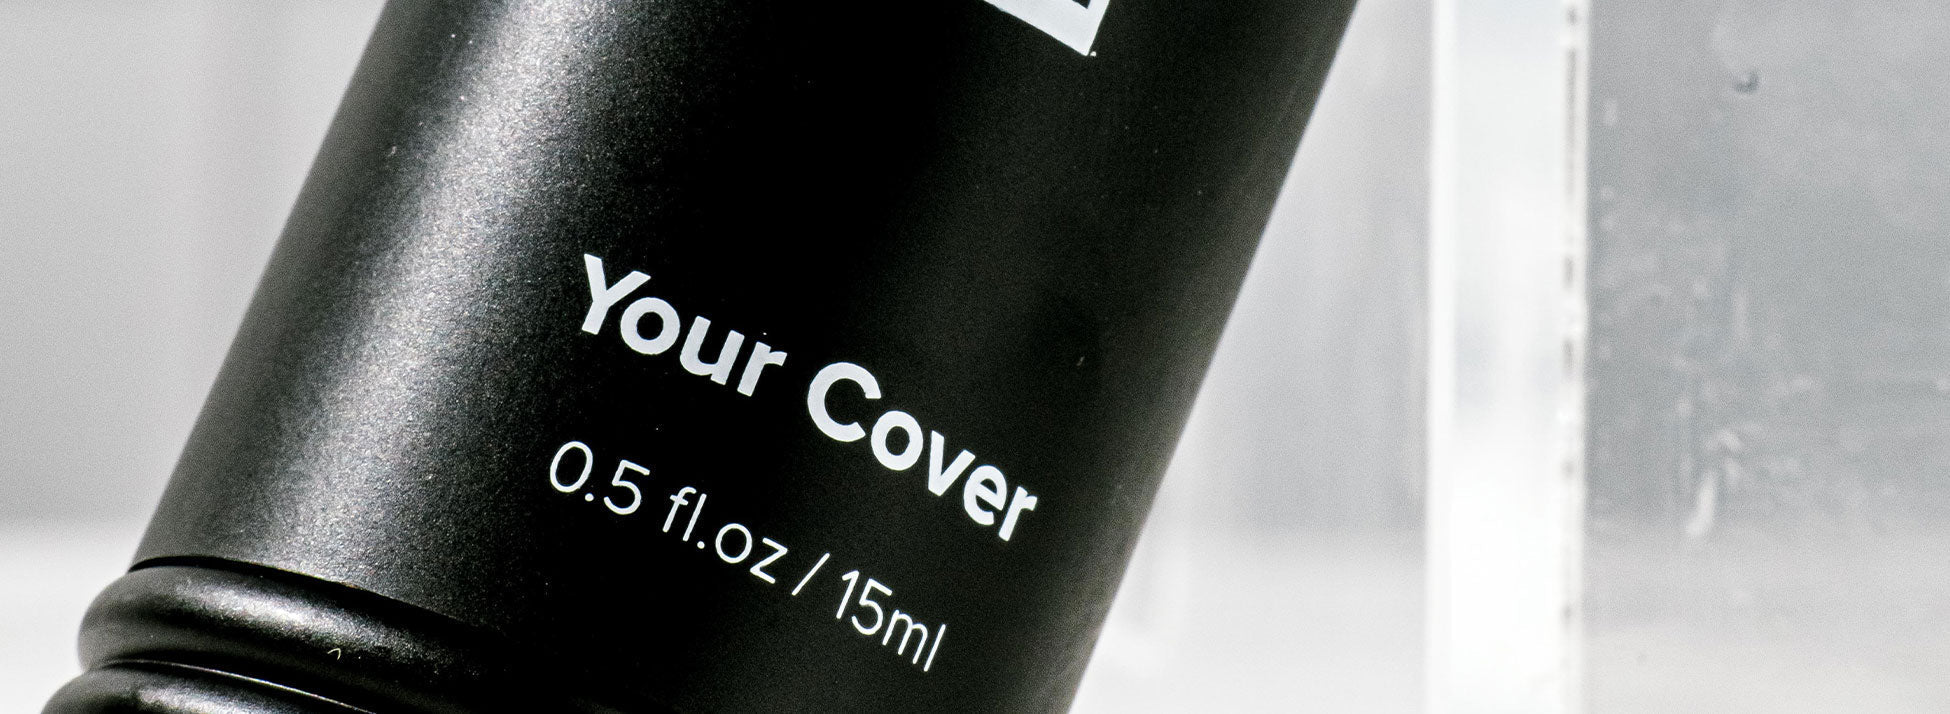
- Bloc's Your Cover contour stick
-
Maybelline New York Facestudio Master Contour V-Shape Duo Stick
-
NYX Professional Makeup Wonder Stick
-
Fenty Beauty Match Stix Matte Skinstick
-
Milk Makeup Matte Bronzer Stick
-
L’Oréal Paris Infallible Sculpt Contour Stick
Final Thoughts
Learning how to use a contour stick can transform your makeup routine and enhance your facial features effortlessly. The key lies in choosing the right shade, applying in the correct areas, and mastering the art of blending.
Remember, contouring is not about changing your face but about highlighting your natural beauty by adding dimension and depth. So, practice these steps, experiment with different techniques, and soon you’ll be contouring like a pro with confidence!

